REPORTS
Contents
ECHO User Manual
REPORTS
Various reports exist to assist you with your daily cash reconciliation.
USER REPORTS
There are two user reports;.
ENROLLED USER REPORT
The ENROLLED USER REPORT will provides a quick and easy method to view all users currently enrolled into the system. It can be useful for removing users where the user ID is unknown, or as a visual aid to who currently has access to your safe, and at what permission level. (Minimum Permissions: SHIFT LEADER)
- log in to the menu system (see “logging in”)
- select “ADMINISTRATION”
- select “REPORTS”
- select “ENROLLED USER REPORT”
- the report will print
SHIFT REPORT
The SHIFT REPORT is used to print shift totals for users. It displays the amounts of validated drops, manual drops & coin dispensed/loaded/unloaded. Shift totals are NOT cleared upon running a shift report. Shift totals are only cleared with a GRAND Z report.
IMPORTANT: Shift reports should be run for all users PRIOR to clearing totals with a GRAND Z report!
- log in to the menu system (see “logging in”)
- select “ADMINISTRATION”
- select “REPORTS”
- select “SHIFT REPORT”
- 1) enter a USER ID for the user you wish to print
- OR
- 2) select “ME” to print your own shift report
- OR
- 3) select “ALL” to print shift reports for all users
- the report will print
CASH REPORTS
CASH REPORT
The CASH REPORT provides a quick way to see the NET CASH currently in your safe. This includes all validated drops, manual drops and the balance of the coin dispensing system (coin starting – coin dispense – coin unloaded + coin loaded).
(Minimum Permissions: SHIFT LEADER)
- log in to the menu system (see “logging in”)
- select “ADMINISTRATION”
- select “REPORTS”
- select “CASH REPORTS”
- select “CASH REPORT”
- the report will print
GRAND X REPORT
The GRAND X REPORT is a detailed report, which includes the above CASH REPORT, as well as detailed user activity since the last GRAND Z REPORT. This report does NOT clear any system or user data and can be run at any time for a detailed status of the NET CASH currently in your safe.
- log in to the menu system (see “logging in”)
- select “ADMINISTRATION”
- select “REPORTS”
- select “CASH REPORTS”
- select “GRAND X REPORT”
- the report will print
GRAND Z REPORT
The GRAND Z REPORT is identical to the GRAND X report, with the exception that this report CLEARS ALL SYSTEM AND USER DATA after the report has completed.
- log in to the menu system (see “logging in”)
- select “ADMINISTRATION”
- select “REPORTS”
- select “CASH REPORTS”
- select “GRAND Z REPORT”
- you will be warned “THIS WILL ERASE ALL DATA!!”
- select “CONTINUE” to proceed
- the report will print
AUDIT REPORTS
AUDIT REPORT
During normal operation, the system automatically logs these events with the current date, time and user ID. The AUDIT REPORT is used to get a detailed history of these events.
- log in to the menu system (see “logging in”)
- select “ADMINISTRATION”
- select “REPORTS”
- select “AUDIT REPORT”
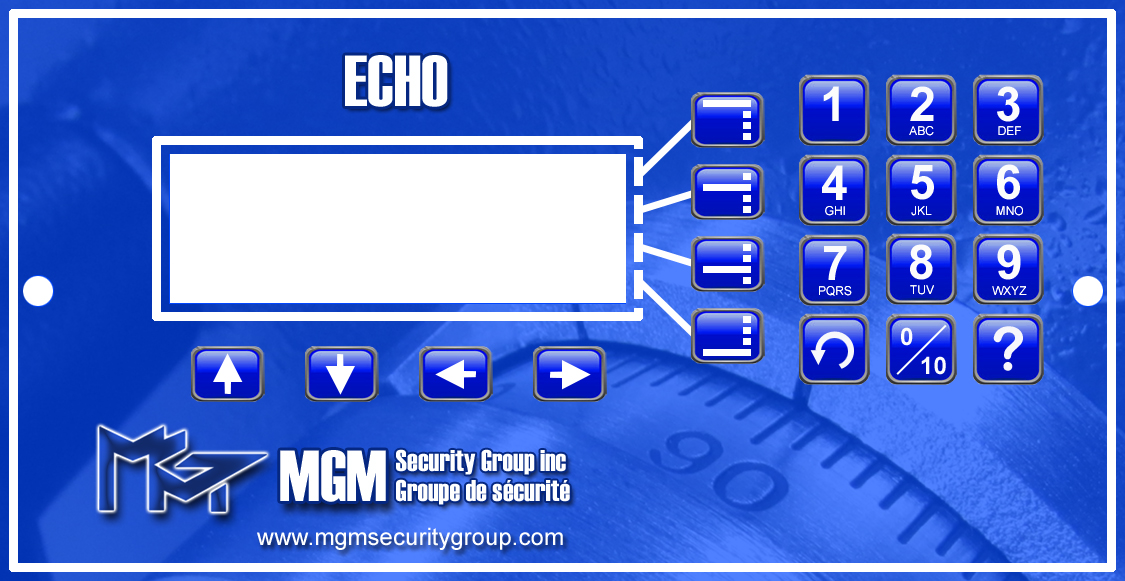
- you will be shown a range of dates which the audit trail contains, which you will then be allowed to edit to your needs. Use the LEFT / RIGHT ARROW keys to move through the date, while using the UP / DOWN ARROW keys to increment / decrement the date. Use the MENU keys to select the date to edit (FROM / TO).
select “DONE” to proceed - the report will print
NOTE: during date searching, if the date you have entered is not found, the report will print a single line from the previous/next day to show that the date entered has no entries in the audit trail. For example, if you enter 03/17/12 – 03/19/12 and either date is not found, the system will use the next closest date (of the previous day for the start date and the next day for the end date). If the start date was not found, a single line will print from 03/16/12, if it exists, and so on until the audit start is reached. If the end date was not found, a single line will print from 03/20/12, if it exists, and so on until the end of the audit is reached.
DATE SEARCH EXAMPLES
To search for a specific day, enter the same date for both the FROM and TO dates.
FROM: 03/20/12
TO: 03/20/12
This will print all transactions for the specific day.
To print an entire month, enter the first and last day of the month in the FROM and TO dates, respectively.
FROM: 03/01/12
TO: 03/31/12
This will print all transactions for the entire month of March, 2012.


